
Seasonal Window Display Brief Example
A seasonal window display brief should turn an attractive reference into a reviewable set of decisions. Record what the shopper is likely to see first, then separate those visible choices from assumptions about dimensions, materials, installation, rights, cost, and operations.
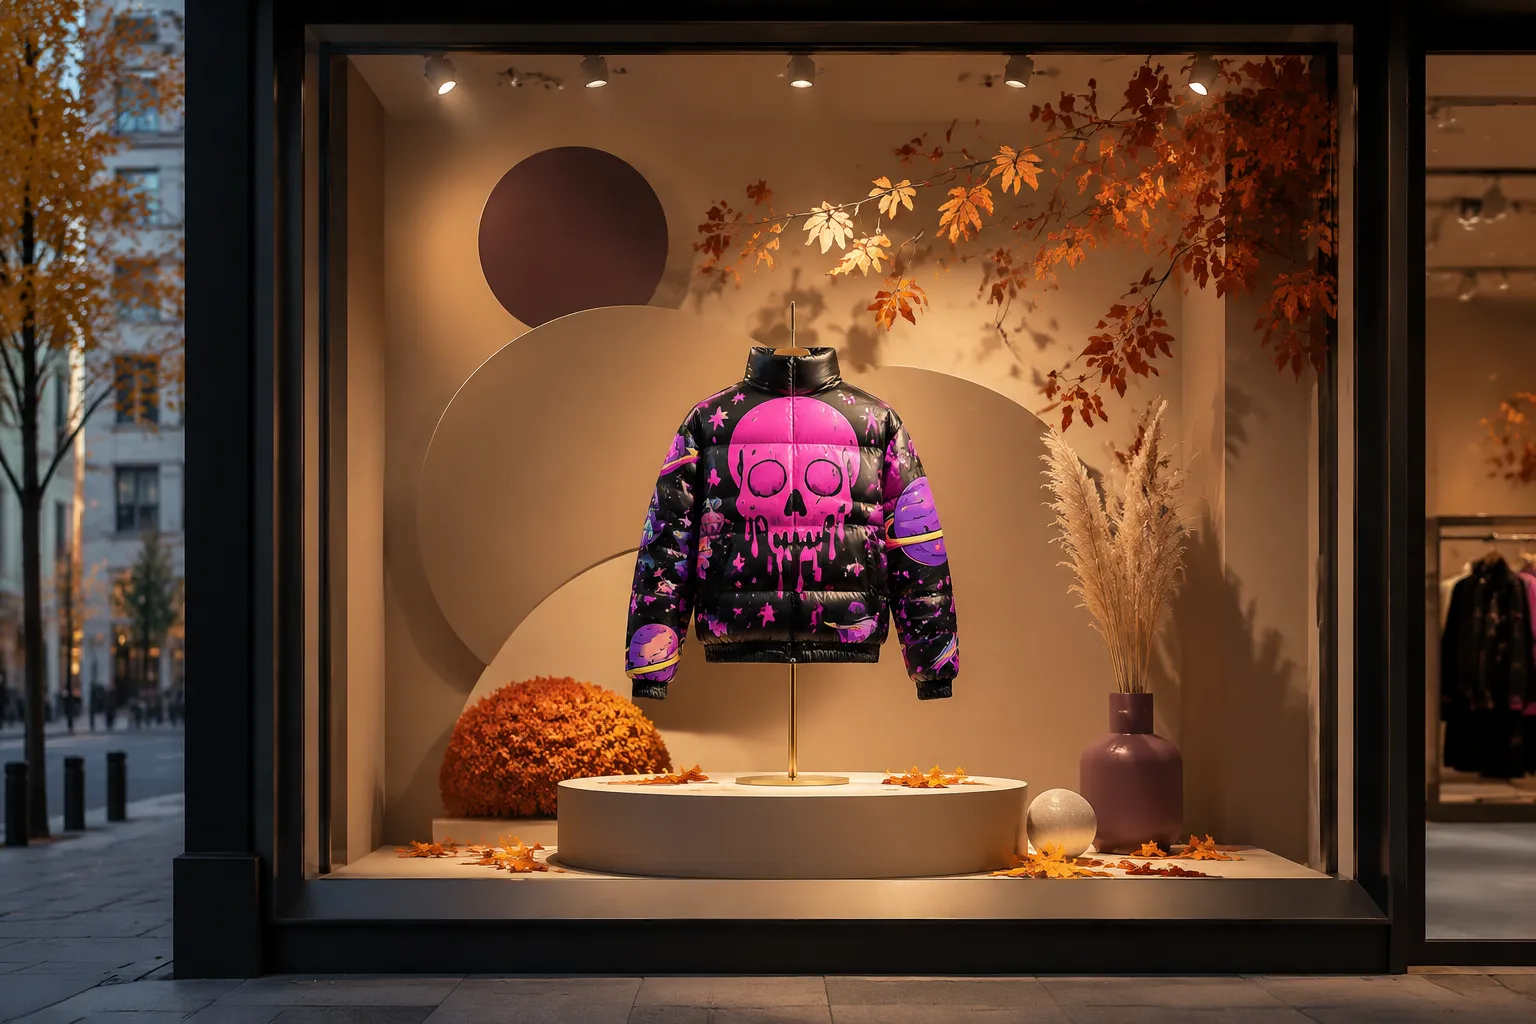
The example below is illustrative and unmeasured. It shows how a retail team can use a concept image without treating the image as evidence of final feasibility, site fit, or commercial performance.
Seasonal Window Display Brief Example
Campaign: Seasonal collection window
Display purpose: Introduce the seasonal product story and direct attention toward one featured product group
Window status: Concept stage
Reference status: Illustrative visual reference; source and usage status to be documented
Primary review question: Does the concept reveal the featured product quickly from the main approach angle without allowing props or signage to compete with it?
Start With the Shopper-Facing Choice
The display uses one dominant focal point near the center of the window. A raised fixture supports the featured product, while smaller props frame the product area and create visible depth.
From the illustrated approach angle, the composition appears to guide attention from the outer frame toward the central product. The concept favors a restrained product hierarchy instead of showing the full seasonal assortment at once.
The brief should describe the intended impression in observable terms:
The shopper should first notice the featured product, then recognize the seasonal theme, and finally understand that related products are available inside the store.
This records a communication priority. It does not establish attention, store entry, purchase, or another commercial outcome.
Record What the Reference Shows
Annotate the image or concept render before discussing feasibility. Use evidence markers such as “visible,” “illustrative,” and “appears to” when the reference does not provide measured information.
- The apparent focal point and its position in the window.
- The product or product group given the greatest visual emphasis.
- The direction in which the main forms appear to guide attention.
- The apparent display depth between the glass, fixtures, products, and background.
- The location and apparent scale of fixtures.
- The number, type, and visual weight of props.
- The visible finish, color, texture, and reflectivity.
- The apparent lighting direction and the areas it emphasizes.
- Any signage, text, pricing, or campaign message.
- Areas where products, labels, mannequins, or fixtures appear obscured.
For example:
The image shows a central platform, two vertical framing elements, and a small group of decorative props. Exact dimensions, material specifications, and fixing methods are unconfirmed.
That note preserves the useful observation without turning an illustrative render into measured evidence.
Review the Focal Point and Sightline
A window display focal point is the area intended to receive the strongest visual emphasis. In the brief, identify it as a design decision rather than an assumed shopper response.
Review the focal point from each relevant approach angle:
- Direct approach from the front.
- Approach from the left.
- Approach from the right.
- Oblique views created by a corner, arcade, or angled window.
- Views partly blocked by the building frontage, neighboring displays, signs, or street activity.
A centered composition may hold its hierarchy from the front while losing it from a side approach. A left-weighted grouping may be more visible to shoppers arriving from one direction, but that assumption requires observation of the actual surrounding path.
A useful review note is:
The concept favors a central focal point from the front view. Confirm whether the same product remains dominant from the primary approach angle and nearest side view.
The reference cannot settle the sightline. The site does.
Set the Product Hierarchy
Product hierarchy identifies which item receives first, second, and third attention. Set that order before selecting props and finishes.
- Featured seasonal product.
- Supporting product or coordinated product group.
- Seasonal message or brand identifier.
- Decorative props and background elements.
The intended order should be visible through position, scale, contrast, lighting, spacing, or repetition. If a prop is brighter, larger, or more detailed than the product, the hierarchy may weaken.
- Which product should remain recognizable at a distance?
- Which product details must remain visible through the glass?
- Does the fixture support the product or become the main subject?
- Does the signage explain the concept or compete with it?
- Are too many products sharing the focal position?
- Does the featured item need open space around it?
A polished reference can hide the assumption that products will remain equally visible after packaging, tags, hangers, supports, reflections, and real lighting are introduced.
Make Depth, Fixtures, and Props Explicit
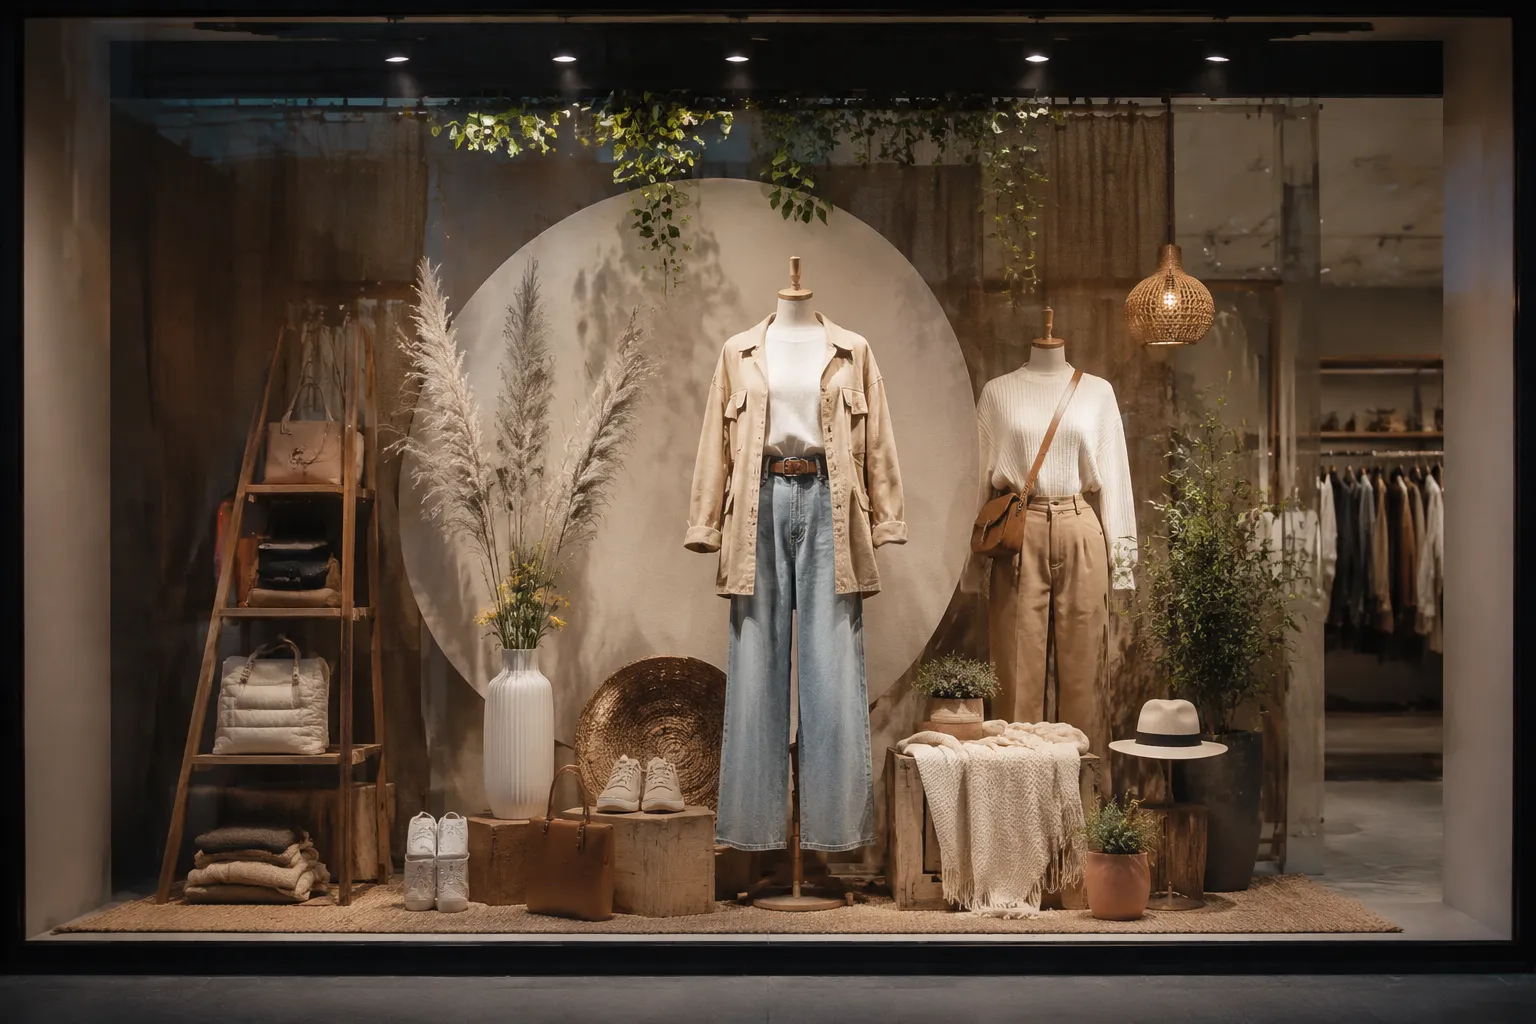
Display depth describes the relationship between the front glass, product, fixture, and background. A concept may suggest layered depth, but it does not confirm the usable depth of the actual window.
Document the intended arrangement:
- Front layer: Elements nearest the glass.
- Middle layer: Featured product and primary fixture.
- Rear layer: Backdrop, supporting merchandise, or lighting equipment.
- Clear areas: Spaces intentionally left open around the focal point.
Describe each fixture by function. A pedestal, table, rail, shelf, cube, or mannequin may support product presentation, separate product groups, or establish scale. The brief should also record what remains undecided.
- Proposed type and approximate position.
- Product placed on or within it.
- Visible finish and color.
- Whether it is supplied, rented, fabricated, or undecided.
- Proposed attachment or support method, if known.
- Dimensions and material specifications still required.
- Access needed for replenishment and maintenance.
Props should frame or support the seasonal idea. They should not be treated as useful simply because they appear in the reference.
- What the prop contributes to the visual message.
- Whether it is merchandise or non-merchandise.
- Its apparent scale relative to the product.
- Its finish, texture, and color.
- Whether it repeats an existing product form.
- Whether it obscures, reflects, shadows, or competes with merchandise.
- Its source, ownership, usage status, and replacement plan.
The concept image can show apparent proportion. It cannot confirm material performance, fixing adequacy, fixture capacity, or installation suitability.
Describe Finish and Lighting Precisely
The finish section should identify what is visible and what must still be specified. “Matte backdrop” or “reflective platform” is more useful than a broad phrase such as “premium look.”
- Surface finish.
- Visible texture.
- Color relationship between product, fixture, prop, and background.
- Areas where reflection may affect product visibility.
- Surfaces likely to show fingerprints, dust, or marks.
- Whether the finish is part of the seasonal identity or only a visual placeholder.
Give lighting its own line in the brief. Identify the apparent source, direction, color impression, and product area emphasized in the render. Then request the information needed for the actual window:
- Lighting type, quantity, and position.
- Power and connection requirements.
- Control method and operating schedule.
- Effect of daylight, glare, and glass reflection.
- Maintenance access.
- Any electrical or installation review required for the location.
The reference does not confirm brightness, heat, power demand, electrical suitability, or evening visibility.

Window Display Measurement Requirements
A reviewable brief needs measured site information before layout decisions are finalized. Record or request:
- Clear internal width, height, and usable display depth.
- Floor, wall, ceiling, and sill conditions.
- Door, access panel, outlet, vent, sprinkler, or equipment locations.
- Glass divisions, mullions, frames, and other obstructions.
- Visibility from each relevant approach angle.
- Existing lighting positions and daylight conditions.
- Access routes for products, fixtures, and installation materials.
- Areas requiring cleaning, repair, painting, or surface protection.
The Purdue visual merchandising handbook illustrates the value of recording window dimensions, lighting locations, physical conditions, cleanliness, audience, concept justification, and cost. These are useful brief fields, but they do not replace a current site check.
Document Provenance and Open Questions
A seasonal window display reference should carry enough information for another person to review its origin and intended use.
- Reference image title or internal file name.
- Creator, supplier, or source name where available.
- Date obtained.
- Usage status and any documented permission record.
- Product images and current product identifiers.
- Fixture and prop specifications.
- Concept sketch, elevation, or annotated layout.
- Budget assumptions and known costs.
- Required confirmations and open questions.
- Project role assigned to each follow-up.
- Revision record between concept and final layout.
Do not mark an image “approved,” “cleared,” or “ready” merely because it looks complete. Provenance and usage status require documentation from the relevant source or rights holder.
Worked Brief Note
Use the illustrative reference as a direction for a centered seasonal window. Keep the featured product as the first visual read, with supporting merchandise behind or beside it. The concept shows layered depth and a raised fixture, but actual window dimensions, approach-angle visibility, material specifications, lighting setup, access, installation method, usage status, and budget are unconfirmed. Measure the site, annotate the sightlines, document each asset, and obtain the relevant production and rights confirmations before committing the layout.
This note is brief-ready because it connects the visible idea to specific follow-up actions.
What the Reference Cannot Confirm
A concept render or seasonal window display reference cannot, by itself, confirm:
- Actual fit within the window.
- Product visibility from every approach angle.
- Fixture or shelf capacity.
- Structural adequacy or attachment method.
- Electrical suitability or lighting performance.
- Accessibility or fire-safety conditions.
- Installation timing or access requirements.
- Cleaning and replenishment workload.
- Asset ownership or usage status.
- Final cost.
- Commercial performance or shopper response.
Assign these questions to the retailer, designer, producer, installer, rights holder, or another appropriately qualified reviewer as applicable.
Final Confirmation Line
Concept direction accepted for further review, subject to measured site information, sightline checks, documented asset provenance, product and fixture specifications, budget confirmation, and location-specific production review.
This records a design direction without confusing visual appeal with verified feasibility.
Sources
- Visual Merchandising Handbook: Translating Theor y to Practice - Lab Guide
- Visual Merchandising Approaches : A Comparative Study of High-End and Fast-Fashion Window Dressing Design
- Formation of Price Perception Through Window Displays: The Roles of Turning Bias, Product Placement, and Objective Temporality
- Effective communication with customers through visual merchandising in physical retail industry : Case Shoe Stop Oy
- A study on impact of theme based window displays on increasing foot traffic of apparel retail outlet